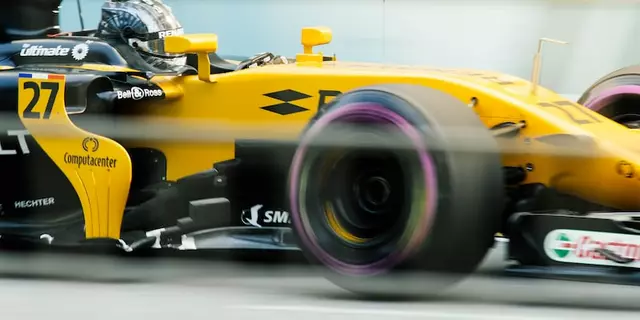
Curaçao Becomes Smallest Nation Ever to Qualify for World Cup as McClaren Fired After Dramatic Draw
November 20 20253D Modeling and Design: Practical Tips and Easy Tutorials
If you’ve ever stared at a blank screen and wondered how to turn an idea into a 3‑D shape, you’re not alone. 3D modeling is the bridge between imagination and a printable, viewable object. Whether you’re building a race‑car concept for MCP Motorsport or just playing with a hobby project, the right guide can save you hours.
First things first – pick a tool that matches your skill level. Beginners love Tinkercad for its drag‑and‑drop simplicity, while more seasoned creators head straight to Blender, Fusion 360, or SolidWorks. All of them let you create, edit, and export models for 3‑D printing or rendering. The key is to start small, get comfortable with basic operations like extrude, revolve, and fillet, then move on to complex assemblies.
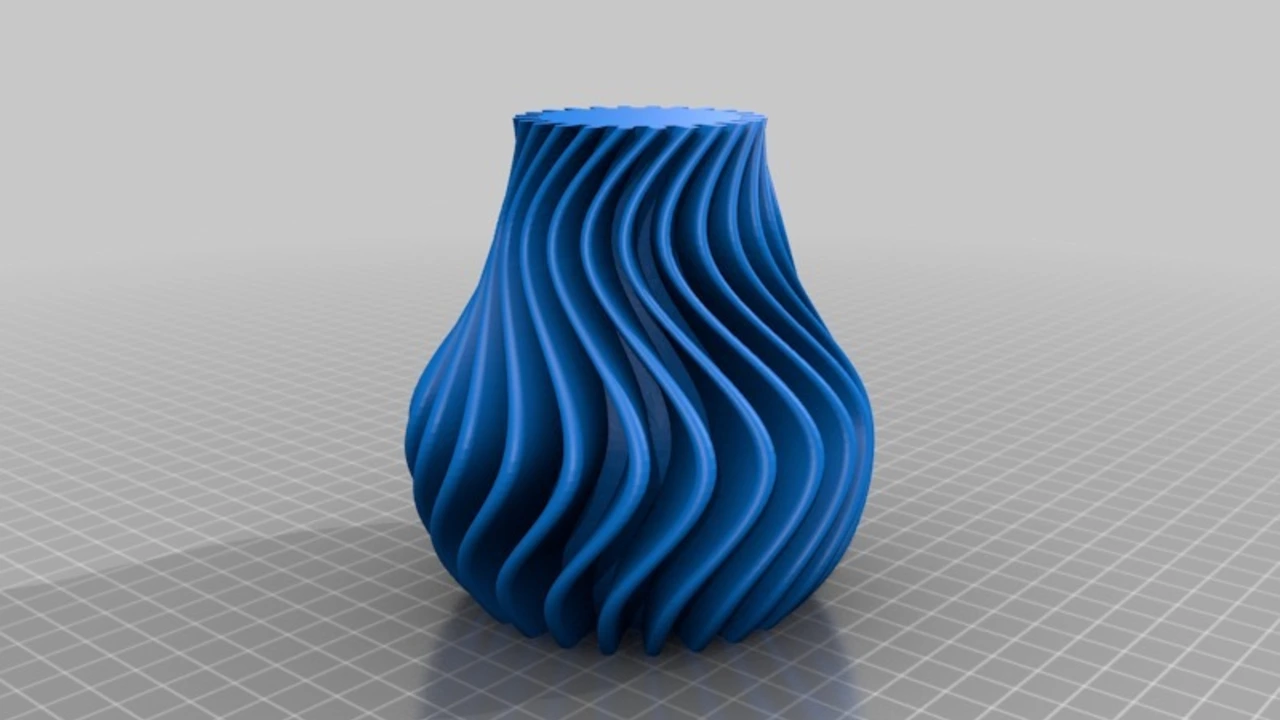
Making a Half‑Cylinder in Minutes
One of the most common requests we see on the forum is “How do you make a half cylinder 3D model?” The answer is easier than you think. Grab your favorite CAD program and follow these steps:
- Draw a circle on the XY plane with the diameter you need.
- Use the “Trim” or “Slice” tool to cut the circle in half – you’ll now have a semi‑circle profile.
- Extrude the semi‑circle along the Z‑axis to the desired length. This creates the curved side of the half‑cylinder.
- If you need a flat base, draw a rectangle that matches the extrusion length and the full width of the original circle, then combine it with the curved piece using a Boolean union.
- Check the model for any stray edges or gaps, then export it as STL or OBJ for printing.
The whole process takes under ten minutes once you’ve got the basics down. You can even add fillets to the edges for a smoother look, or apply a texture if you plan to render it for a race‑car visual.
Beyond Basics: Next Projects
Now that you’ve mastered the half‑cylinder, why not experiment with related shapes? Try a full cylinder with a sliced section to create vents for a car body, or combine multiple half‑cylinders to form a sleek spoiler. Adding chamfers and ribs can give your parts a professional finish that looks right at home in a motorsport simulation.
Another fun project is building a simple wheel hub. Start with a cylinder for the hub, add spokes using the “Pattern” feature, then attach a rim profile. You’ll end up with a component you can actually drop into a racing game or 3‑D print for a miniature model.
Remember, the best way to improve is to keep creating. Every new shape you build teaches you a trick – whether it’s how to manage layer thickness for smooth prints or how to use reference images for accurate proportions. The MCP Motorsport community is full of people sharing their files and feedback, so don’t hesitate to post your work and ask for advice.
Finally, keep an eye on emerging tools. New AI‑assisted modeling apps can suggest geometry based on a sketch, cutting down design time dramatically. While they’re still evolving, they’re worth trying as a shortcut for repetitive tasks.
Bottom line: start small, follow clear steps, and let each finished piece push you toward the next challenge. With the right mindset and a few practical guides, you’ll be turning racing concepts into real‑world models faster than you imagined.
 19 Jul
How do you make a half cylinder 3D model?
Creating a half-cylinder 3D model doesn't have to be a daunting task. First, you need to draw a circle on a piece of sturdy material, like cardboard, and then cut it in half to form two semi-circles. The next step is to cut a rectangle from the same material. This will form the body of your half-cylinder, which you'll attach to the straight edge of your semi-circle. With a bit of patience and precision, voila! You have your half-cylinder 3D model.
Read More...